Wednesday, February 12, 2014

Guter Weizen IPA

So I was in Disney World for the Epcot Food & Wine Festival, it was a great time. I went to the Germany showcase, and they had a beer called Indra, brewed by Braufactum. It was delicous. It was kind of like a dunkel, however it was a wheat based IPA. In my opinion it was a great combination of the two styles, and I had to brew it or something like it, it was portrayed as a fusion between a German wheat and an American IPA. And so began my journey to replicate this fine brew.

Going to their site and translating through Google Chrome, I was able to get the basic ingredients: Light Wheat Malt, Vienna Malt, and Caramel Malt, and the hops were Cascade and Magnum.

Notes were: A bright golden yellow color, slightly cloudy and with a slight head. Amazing opening aromas of oak, and behind that are a mixture of honey, orange soda and spices emerge. On the palate the blends of an earthy undertone with an herbal finish.

Going with these I formulated the following grain bill:

1 lbs Caramel Wheat Malt
1 lbs Caramunic Malt
5.5 lbs Pale Malt (2 Row) Belgian
6 lbs Vienna Malt

BIAB (Brew in a bag):
Mash  @ 153F for 60 min
If BIAB (Brew In A Bag) Raise Mash temp to 168F for 10 min otherwise Sparge with water @ 168F

90 min boil
0.5 oz Magnum @ 60 min
0.5 oz each Magnum & Cascade @ 30 min
1 oz Cascade @ 5 min
1.5 oz Cascade Dry Hopped 5 days

Yeast: WLP300 - Hefeweizen Ale Yeast

I typically ferment for 7-10 days in the primary, with the WLP300 I started out at 65 and slowly raised the temp to 70, to bring out the banana esters from the yeast, but not so much that they were over powering. I then rack the beer to a secondary for about two weeks where at the end of the first week I added the dry hops.

The beer came out great. The color was a bit off, but the taste was close enough from what I remember, because I have not been able to find that beer anywhere else, for comparison.

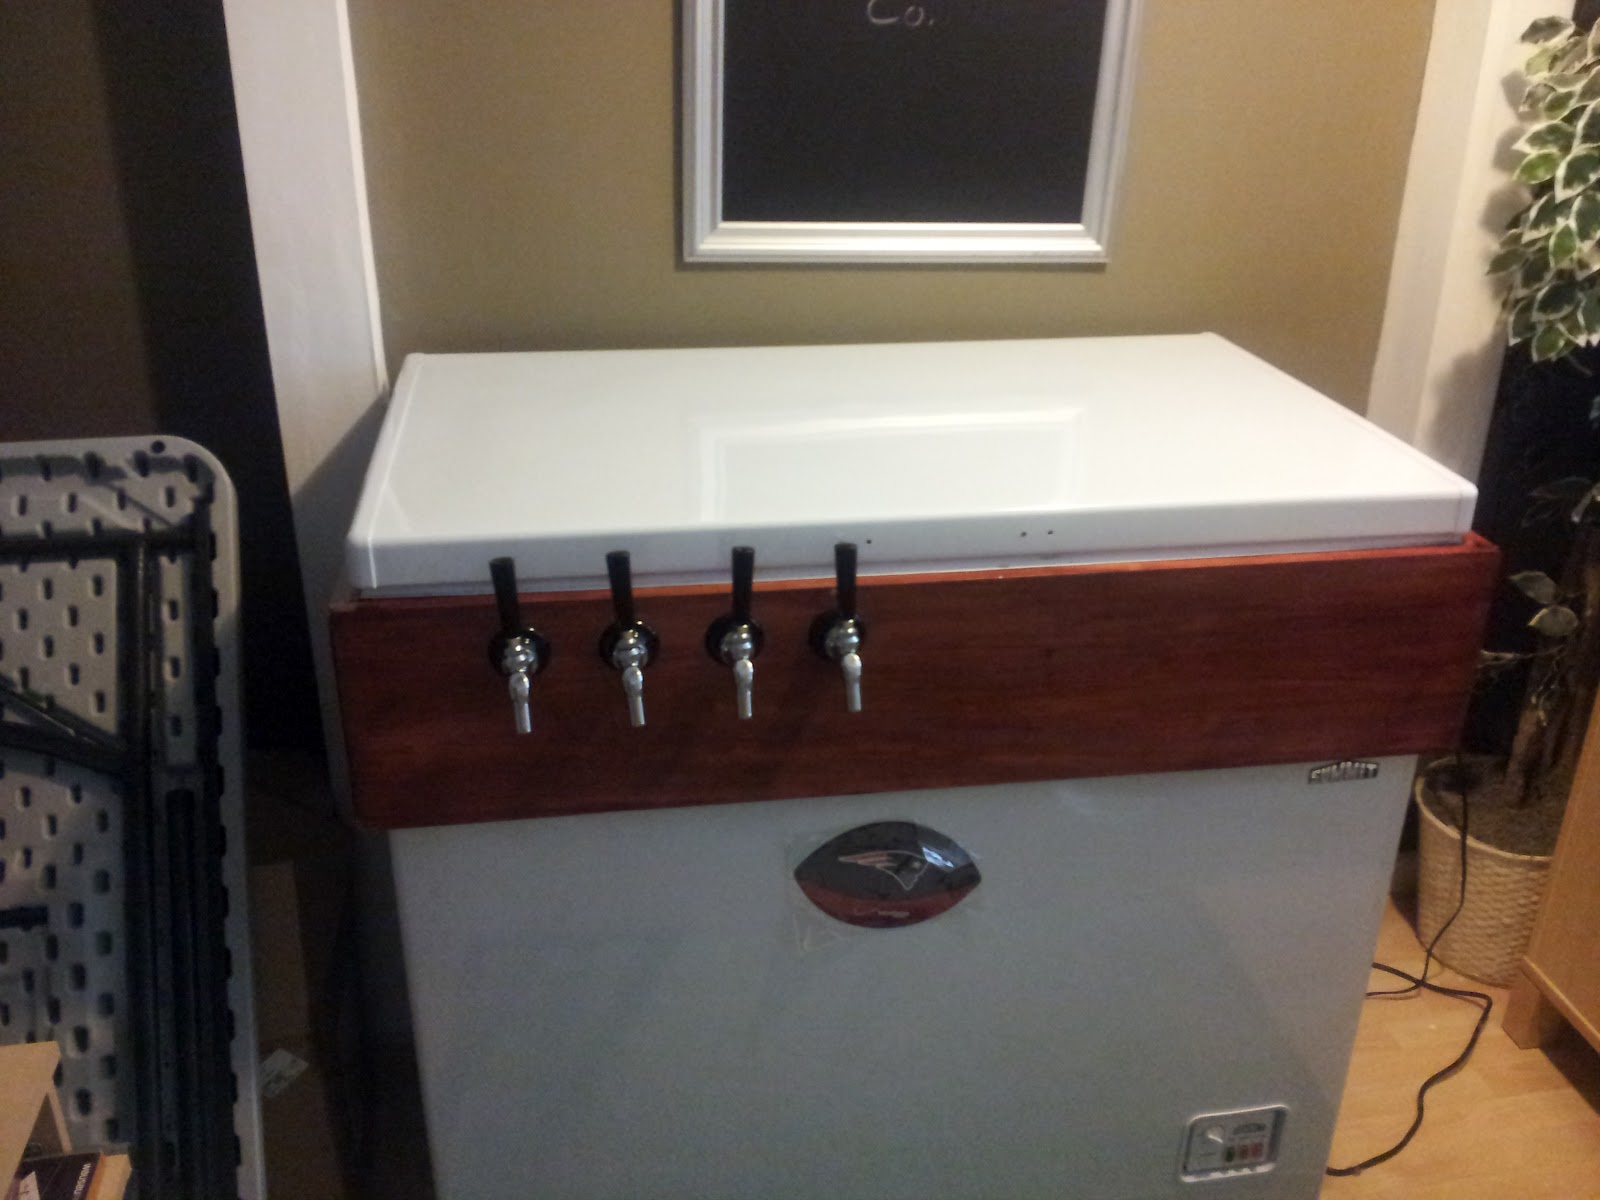


Taller Collar Keezer Build


Being a home brewer, I am always looking for ways to save myself time What I have found is that I HATE rinsing, de-labeling, and sanitizing bottles. It would take me roughly 3 hours to do the 55 bottles needed for a standard 5 gallon batch. The best day so far in my brewing career has been switching to kegging. Only 1 vessel to clean, and you can drink the beer the same day you keg it, (with some shaking magic). And so I began my search for a kegerator and I ended up deciding on building a Keezer, a freezer converted to a kegerator.

The problem I was having with the standard Keezer builds was that they didn't allow for enough height over the compressor pump, and so I ended up needing a taller collar, additionally I am a taller person so not having to bend over is a great help!

Cheap and Easy Fermentation Chamber Build (Blood Sweat and Beer Build)

Back Story: 

So, I recently had won a bet with SWMBO (She Who Must Be Obeyed), and my prize purse was $60 in my own slush fund.

Now on to the build:

So this is just a port and consolidation of my build thread on HomeBrewTalk.com, my original post can be found here: http://www.homebrewtalk.com/f51/cheap-fermentation-chamber-335729/, but this has been cleaned up to show just the final build and no comments in between posts.

I have decided that I want to build a fermentation chamber. I have been looking at a lot of other ones, and as an engineer I like to tinker, and abuse things (using them for things other than they were originally intended). 

I have looked at the "son of a fermentation chamber" as well as some other options and I wasn't exactly pleased with them, so hence me making my own.

My overall goal with this project is to find a solution that works, given some restraints:
  • It has to be under $80 total, ($20 is from what I had left before the bet).
  • It has to fit in a corner of my bar room, as I live in a row house, and that is my only sanctuary.
  • I'd like it to hold 2 6.5 gallon carboys.
  • I would prefer to use a mini fridge or it's guts because our freezer is kind of full and can't handle liter bottles in it.
  • I would preferably like to have it raised off the ground a little bit as to make it easier for racking purposes.
  • I would like to have a view window, so that I can look at it, if not a door will suffice so that I can peek in.

This is a rough diagram of what I envision the final product to look like, however as we all know once you start building things don't always work out the way you initially plan them. 


So I ended up finding and re-purposing a wire frame that we had leftover and lying around the house, I ended up taking out the middle shelves, and then I put a 6.5 gallon and 5 gallon carboy inside to make sure they fit. Which they do. It also fits two 6.5 gallon carboys at the same time.


So here is the cut-out plan for the EPS foam sheet that I ended up getting: